Menu 7
Settings
Manage Japanese/English, text size, account, and notifications in one place. Role-specific administration also appears here.
Complete User Setup first
The App Store release of iOS 1.21 places User Setup at the top of Settings. Sign in with the church password and choose at least one branch you belong to. If you are already signed in, you do not need to enter the password again. The app never saves the password; it protects only the resulting session in the device Keychain.
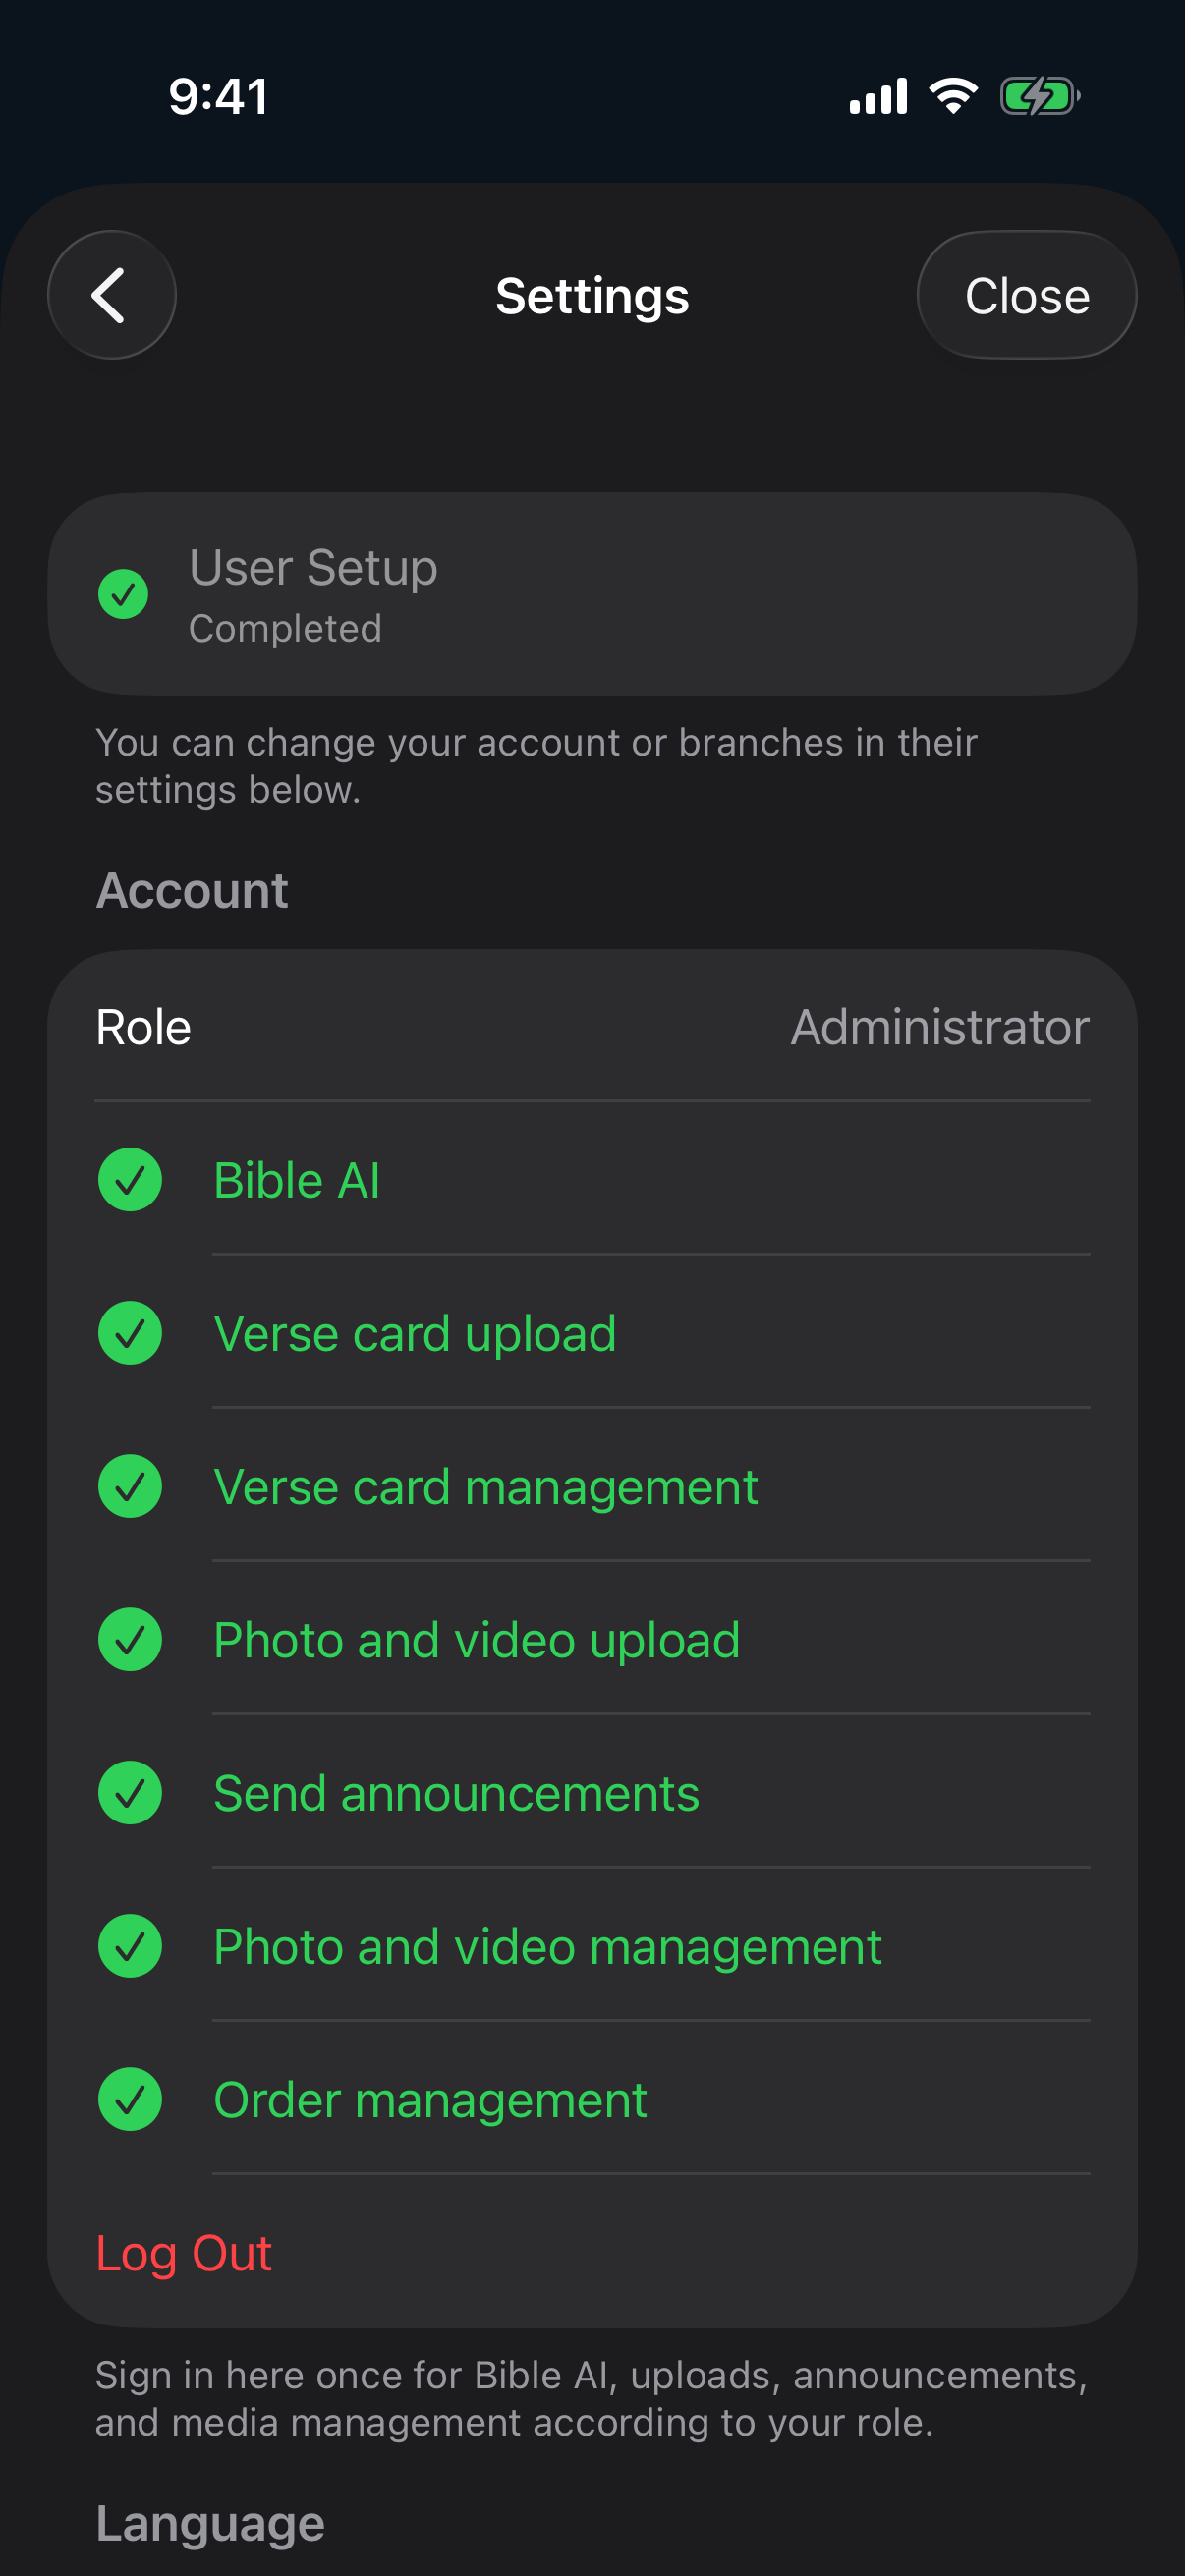
There are two required items
- Sign in: Enter the password provided by the church.
- My branches: Select and save one or more branches you belong to.
- After both are complete, Settings shows a gray User Setup row with a green check.
- You can still change Account or My branches in their individual settings below.
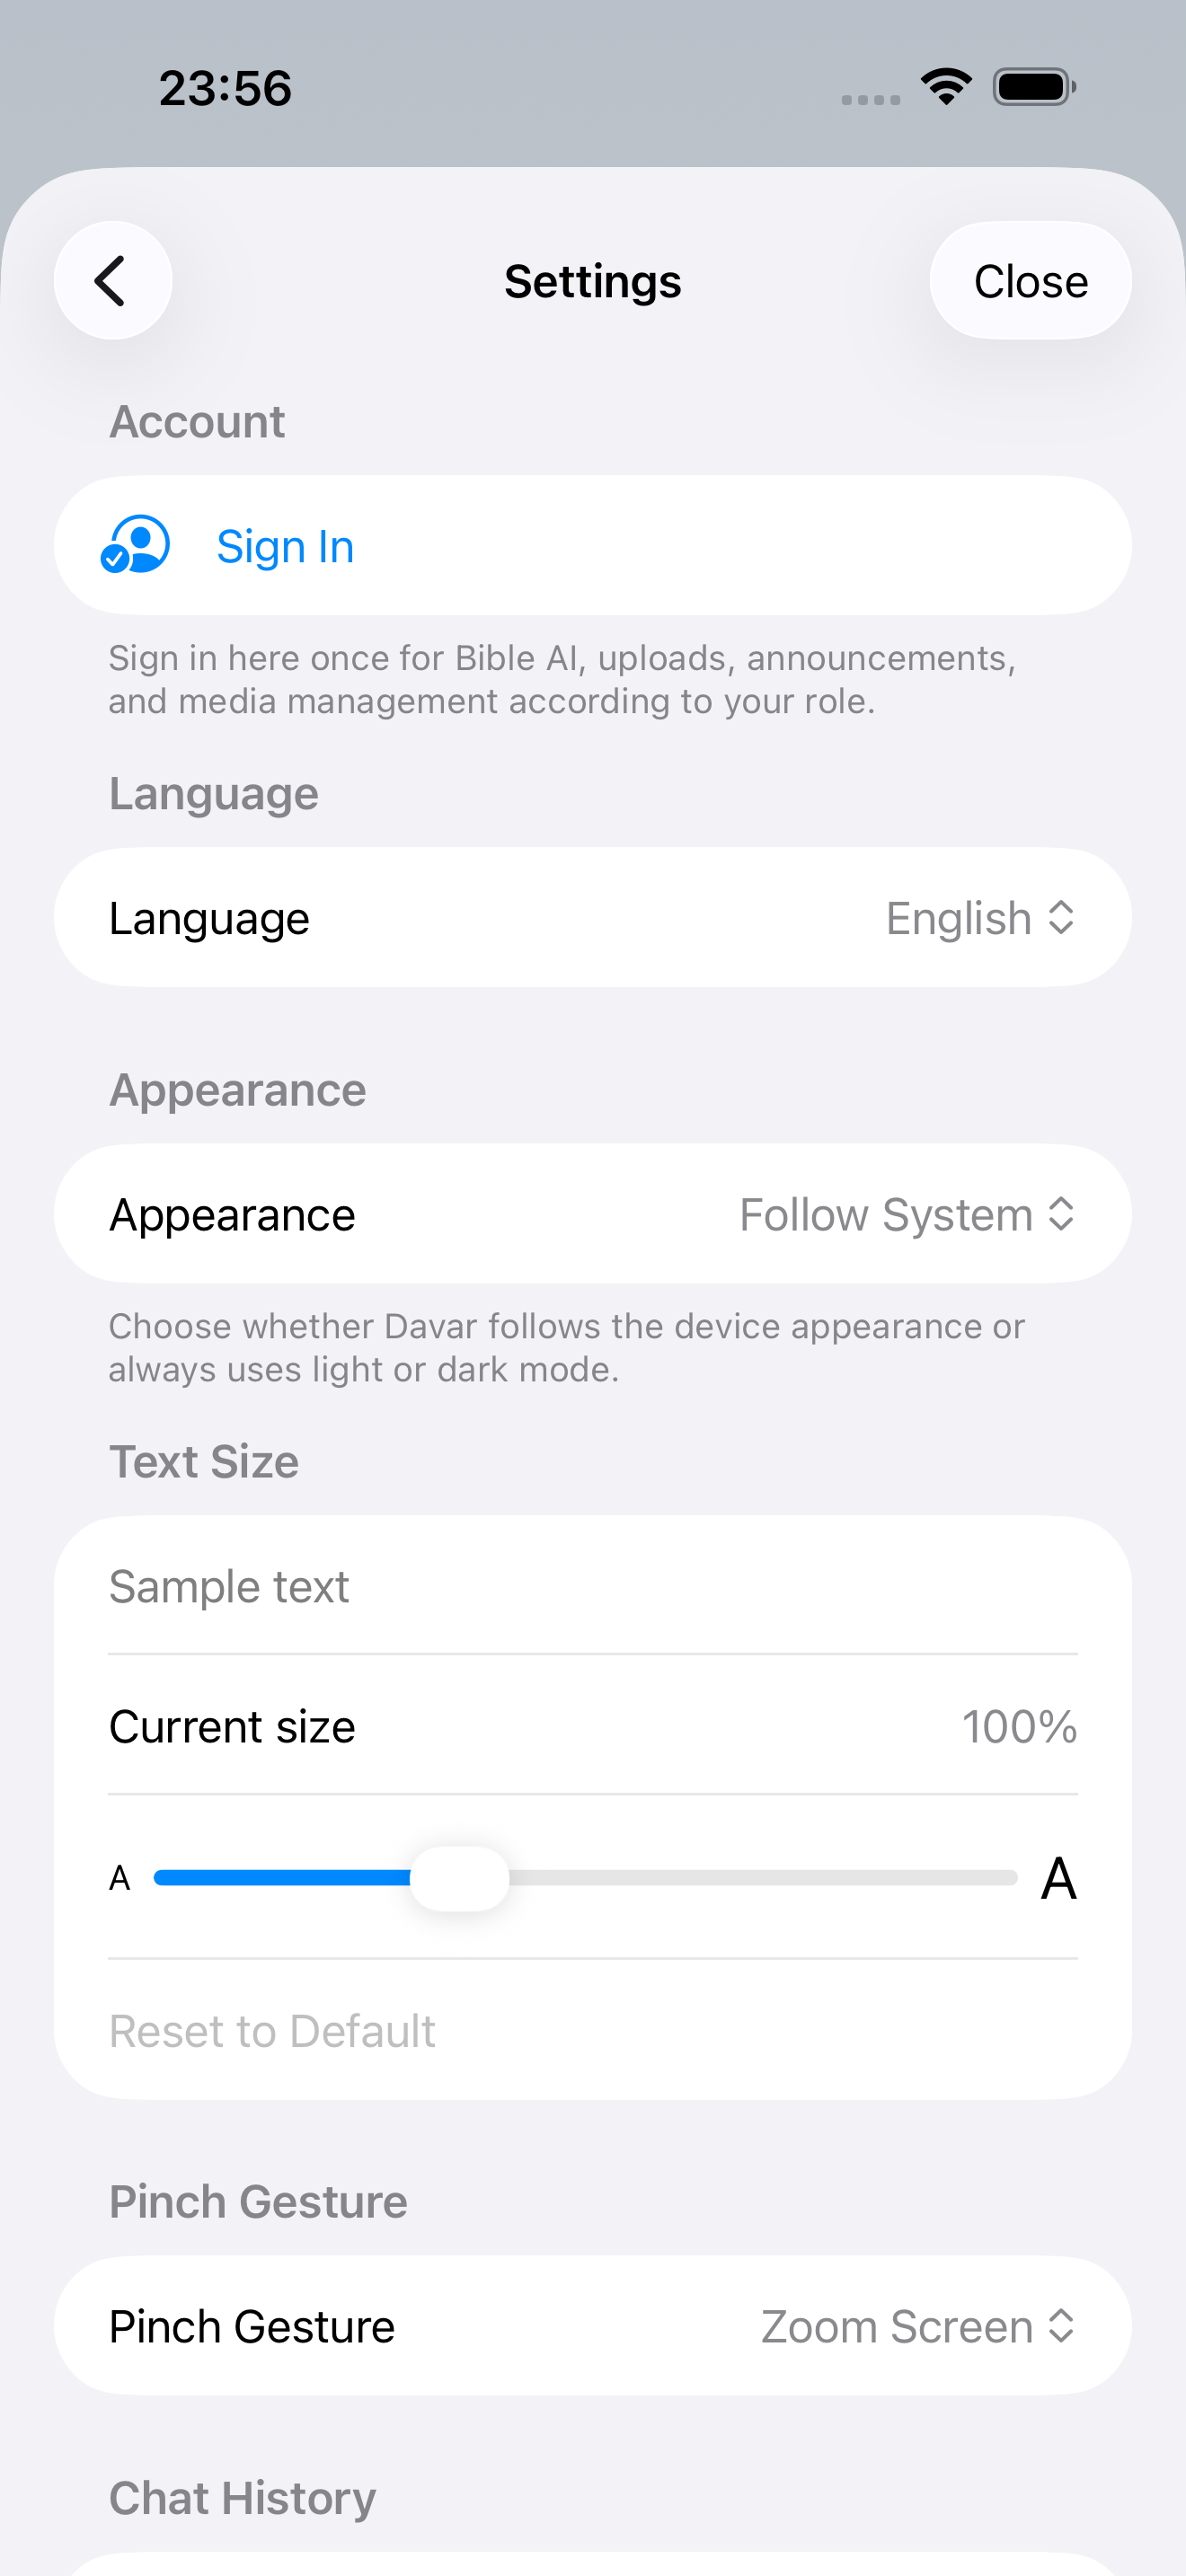
Basic settings
- Language: Switch Japanese or English. This changes menus, controls, and the requested language of church content.
- Appearance: Follow System, or keep the app in Light or Dark appearance.
- Text size: Make app text easier to read. Bible also offers reader-specific adjustment.
- Pinch Gesture: Choose Screen Zoom or text-size adjustment. While Screen Zoom is active, drag the enlarged screen with one finger.
- Account: Sign in once when you need member tools.
- Notifications: Scroll farther down and choose administrator announcements separately from the daily site digest.
Sign in to Account
- Open three-line menu → Settings → Account.
- Enter the password provided by the church and sign in.
- Check the displayed role and enabled capabilities.
- Sign out to immediately close Bible AI, upload, and administration access. It also clears the Cornelius meeting website cookie.
- UserBible AI, Verse Card upload, and photo/video upload.
- OperatorUser capabilities plus announcement composition and sending.
- AdministratorAlso order configuration and Verse Card/photo/video management.
- Public areasHome, Bible, and public galleries normally need no sign-in.
Notifications
- Administrator announcements: Receive church announcements as they are sent.
- Site update notifications: Receive one 8:00 AM Los Angeles digest for site, photo, video, Verse Card, bulletin, and Store product updates.
- Notification Settings: Open iPhone Settings to change permission, sound, and banners.
- If “This device is registered” is absent, check the network and retry push registration.
My branches
The branch choices in My branches and order notification audiences synchronize with the branch information in the Verse Card Gallery (branch labels ending in「支部」). Pasadena (Headquarters) stays first; all other branches appear by descending number of Blogger posts carrying that branch label, with equal counts ordered by branch name. A duplicate branch label on one post counts once. Pasadena is a fixed exception that is not listed in the Blogger gallery and synchronization never removes it. It is available in both My branches and order notification audiences. Updating those gallery labels can update the list without redistributing the compatible app. Synchronization runs when you open the gallery or its upload screen. It uses the initial list or the last successfully accepted list. If a new branch is missing, open the gallery and return here; changes may take a few minutes to appear. A failed request or a change affecting 80% or more of the list preserves the previous list.
- Under Settings → Notifications, open My branches.
- Select one or more branches you belong to. Multiple affiliations are supported; these are your own branches, not a list of topics of interest.
- Save and check the synchronization status. Without a registered notification device, your choice is saved on this iPhone and remains pending. If synchronization fails, retry when connected; the last confirmed server selection remains in effect.
- Keep iPhone notification permission and Administrator announcements enabled to receive notices. Selecting branches does not grant permission or an administrative role.
Before setup, you can receive all-member notices but no branch-specific notices. A branch notice is delivered when at least one of your confirmed branches matches its audience. All-member notices and the daily site digest are unaffected by branch selection. A renamed label is treated as a different branch. Unavailable branches retain your saved affiliation and are marked unavailable. To change it, deselect them, choose an available branch, and save.
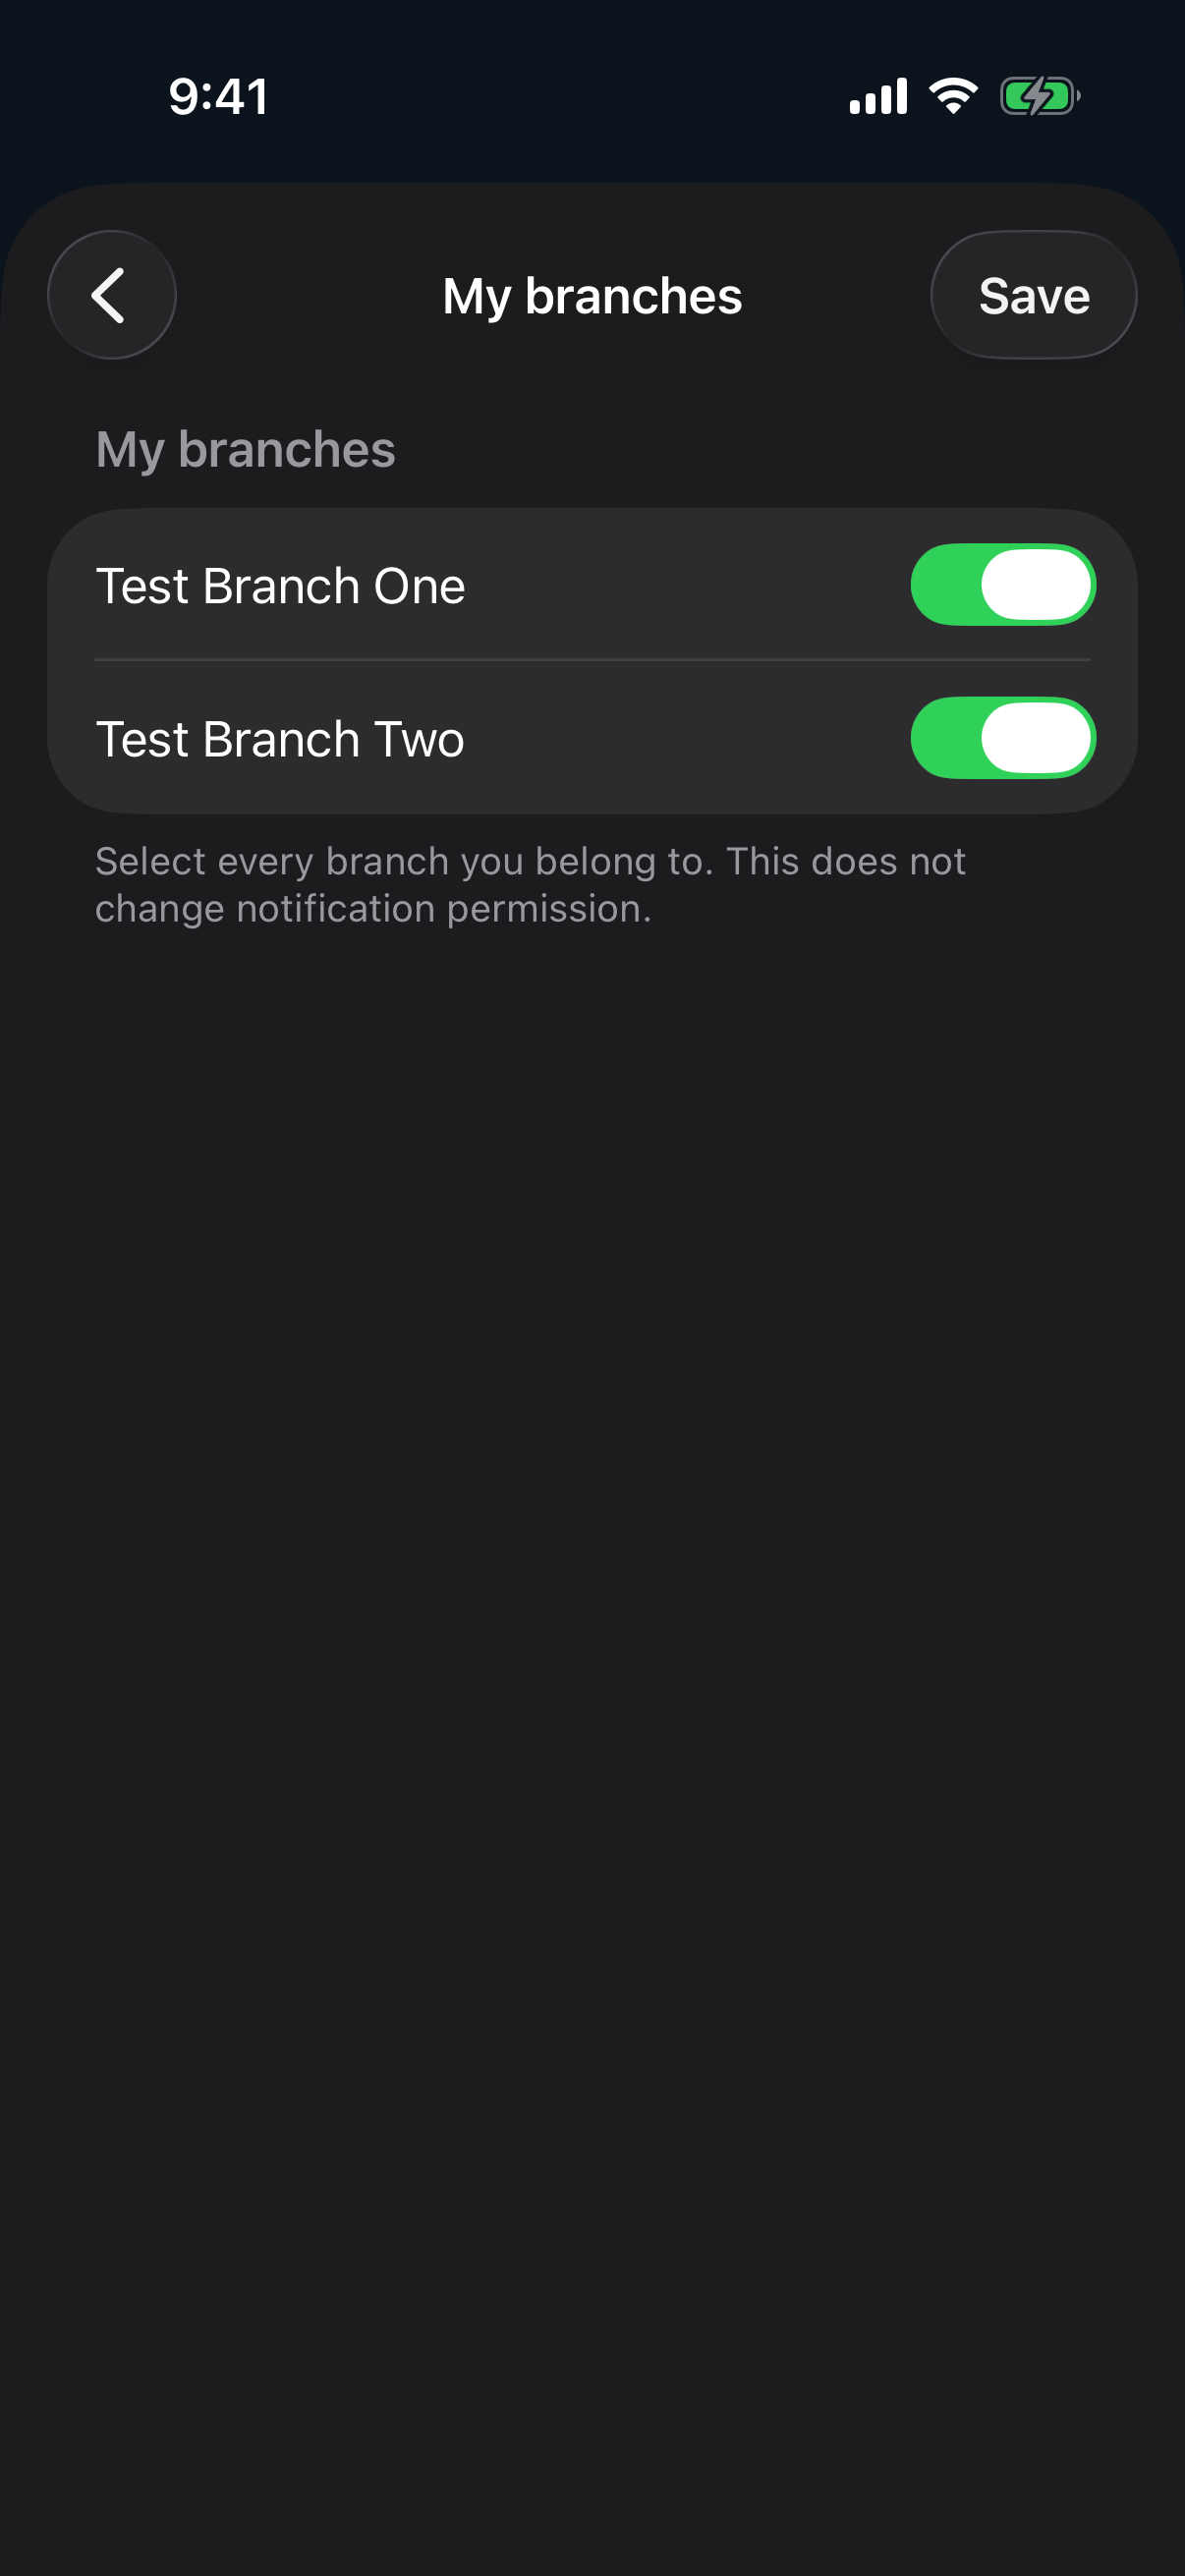
Select every branch you belong to
Choose one or more branches and tap Save at the top right. The names shown are demonstration data; this English example also shows dark appearance and large text.
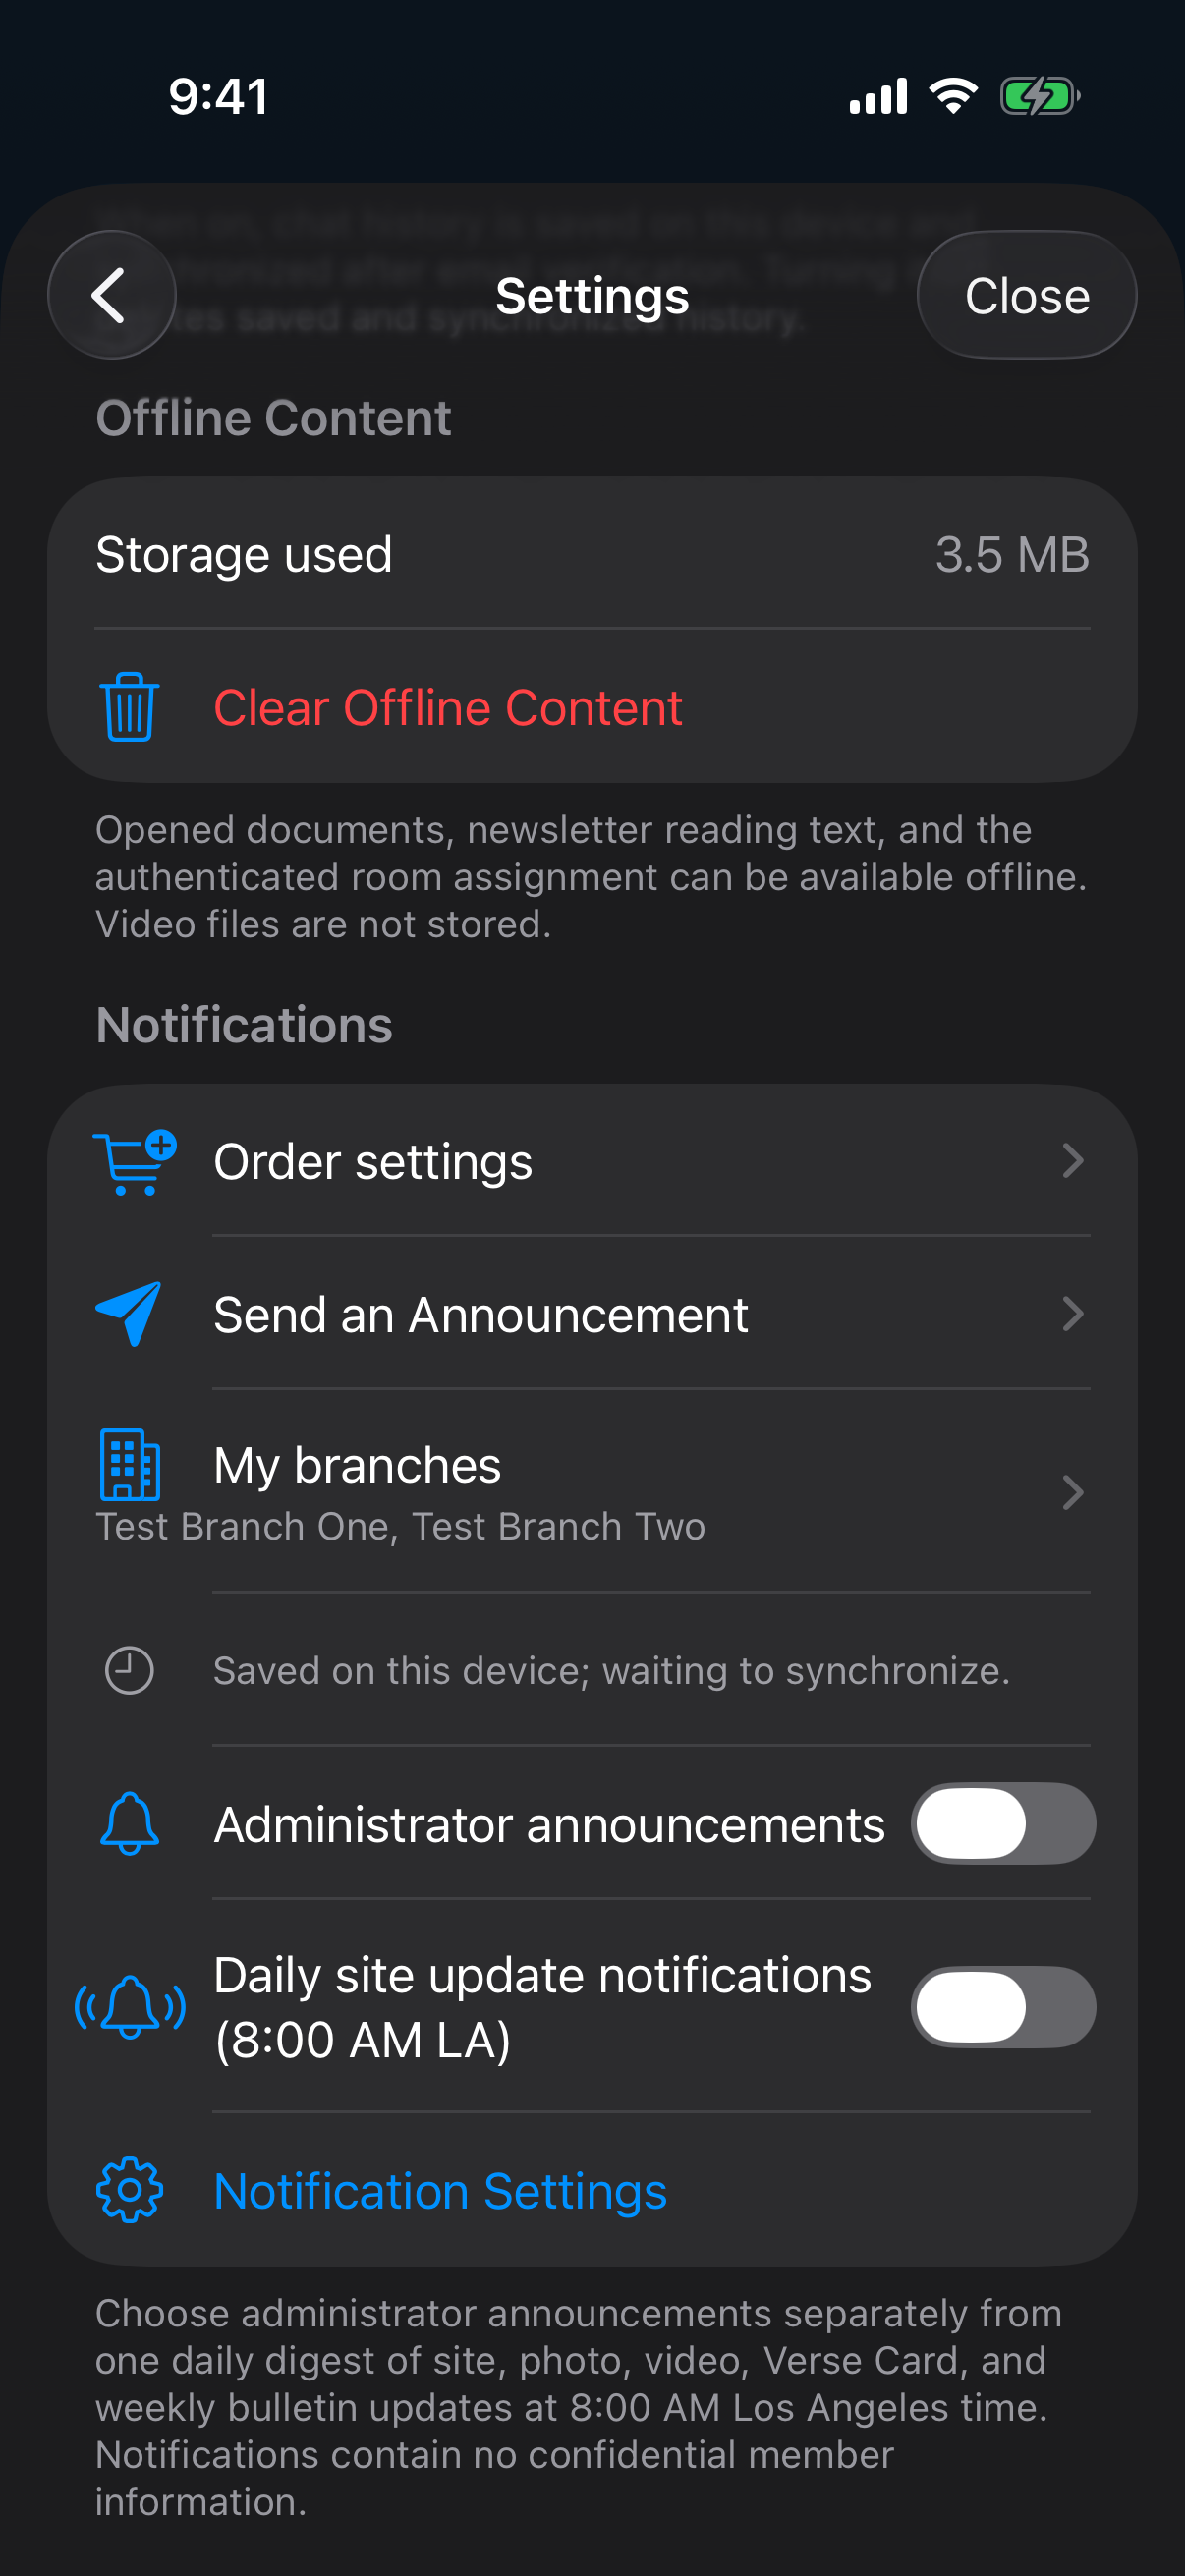
Check the synchronization status after saving
“Saved on this device; waiting to synchronize.” means the choice is stored locally. Branch delivery is not confirmed until device registration and network synchronization succeed.
Announcements also support All members or Branches, with branch names visible in the list. See Choose an announcement audience for the steps.
Items shown to authorized roles
- Order settings: Configure the form, items, deadline, recipients, publication, test alert, schedule, order list, and CSV.
- Send an Announcement: Review and publish a title, body up to 240 characters, and optional link. Inspect full sent content or delete it.
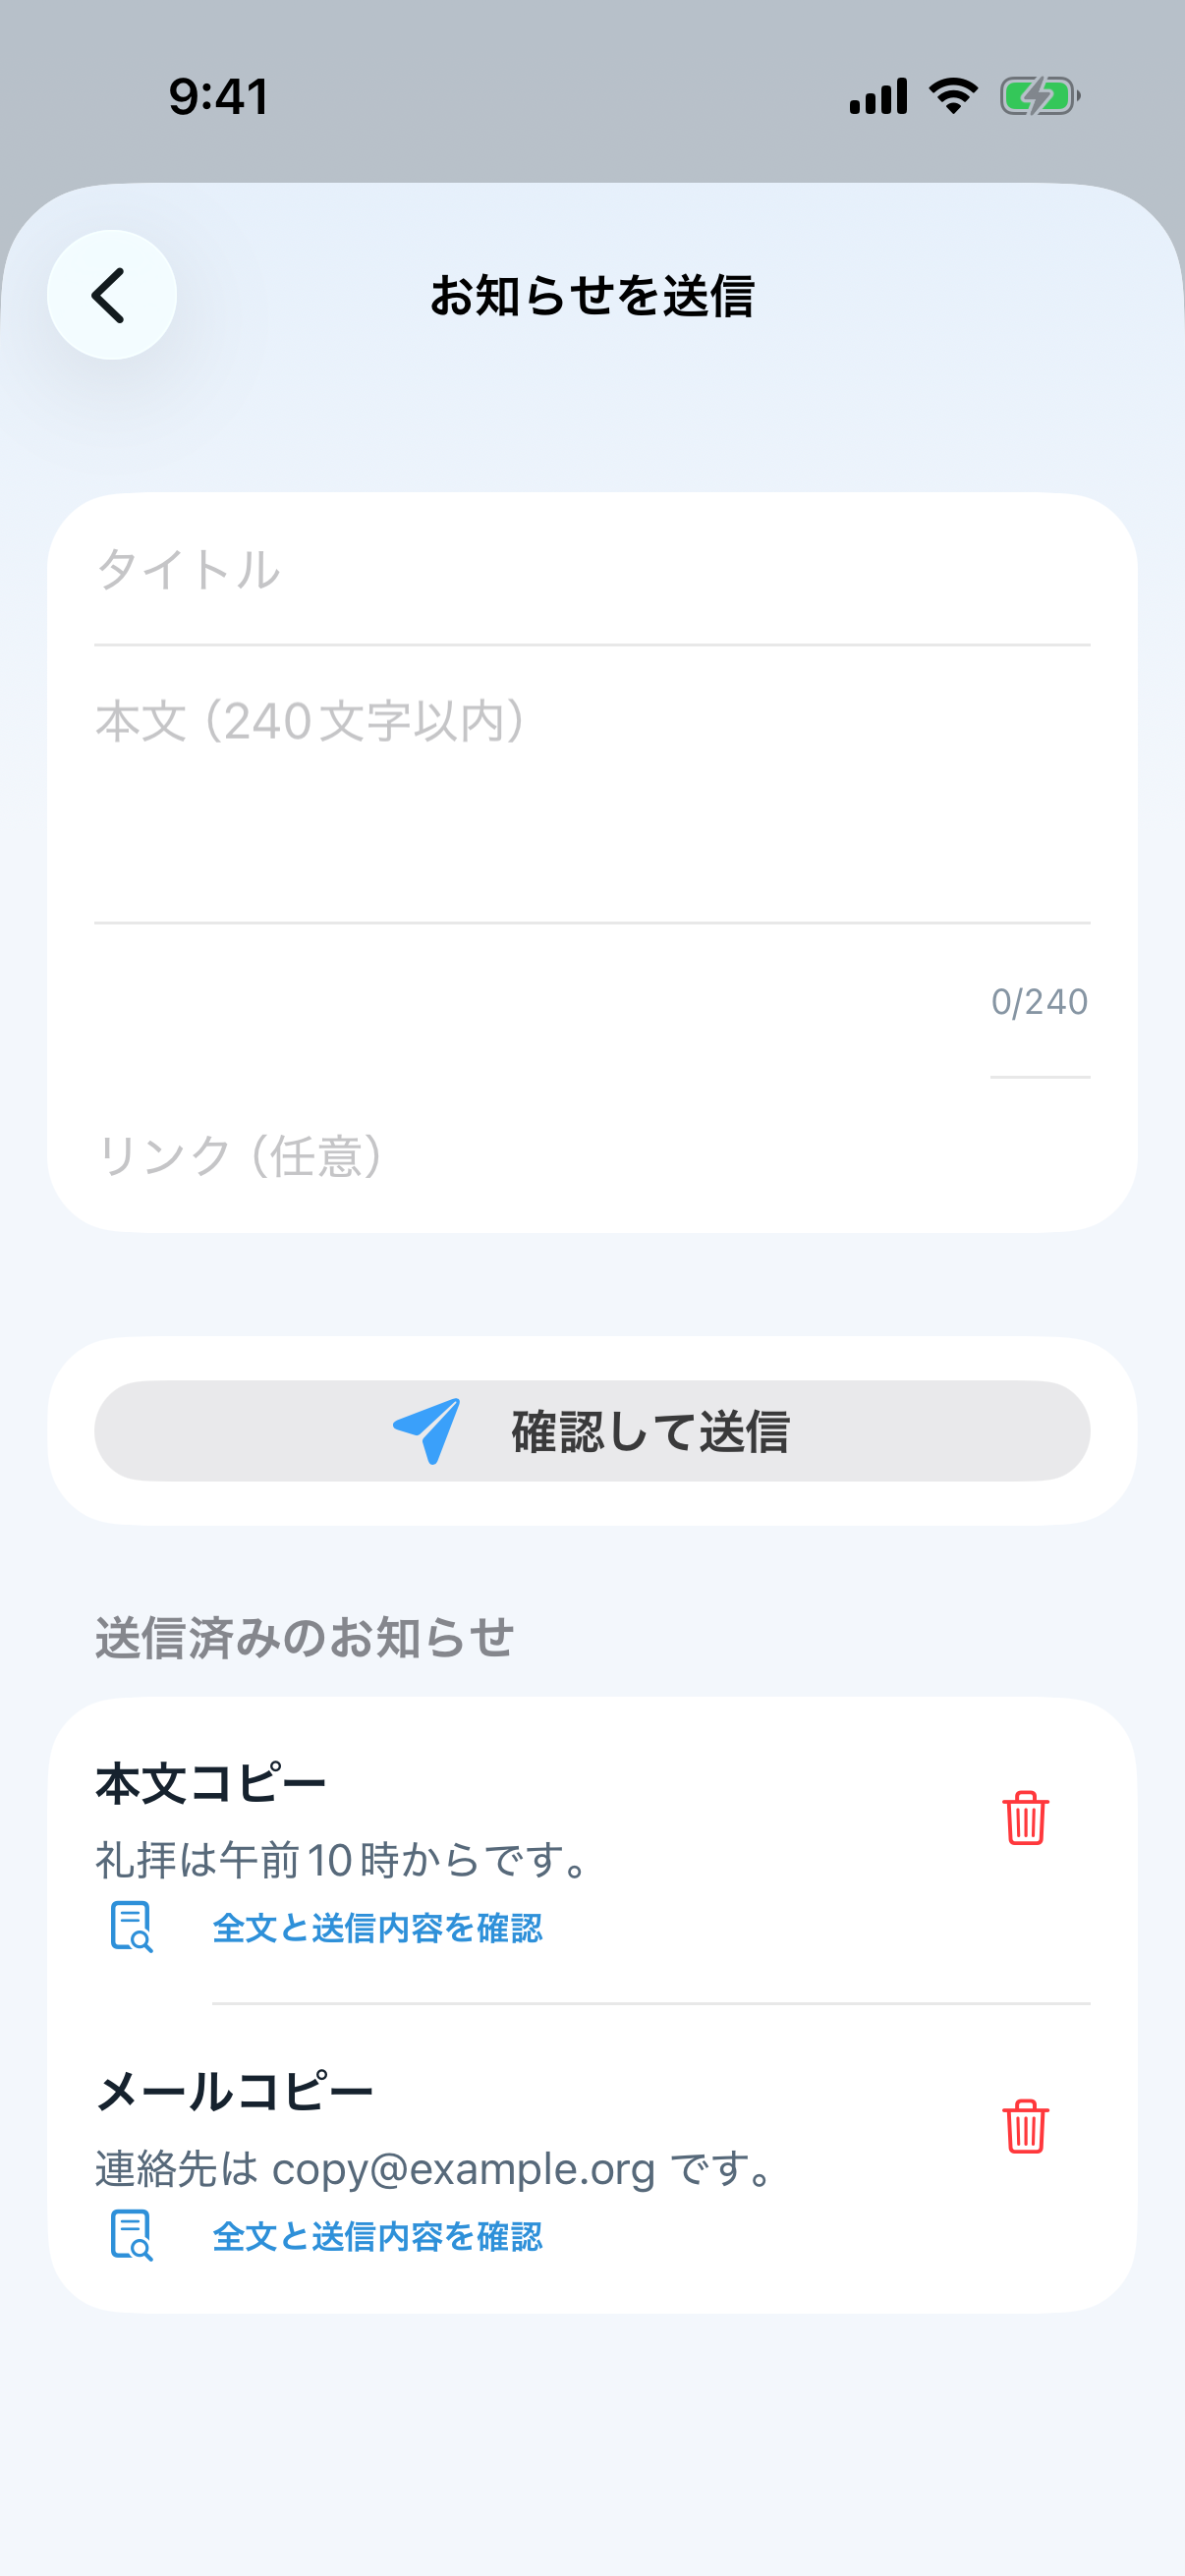
Check before sending
- Make sure the title and body are understandable on their own.
- Add a safe link only when it is needed.
- Review language and recipients on the confirmation screen, then send.
- After sending, open the complete item under Sent announcements and delete only content that should be withdrawn.